
The type of water you use to make pizza dough can affect how it tastes and bakes. It is important to know what the different types of water do to your dough, so that you are able to produce a high quality pizza time after time. We will cover off on the difference in taste between hard and soft water, as well as the effect it has on yeast levels in your dough.
Does Water Make A Difference In Pizza Dough?
Water is an important ingredient in pizza dough. It affects how it tastes and bakes, so knowing what type of water to use can be a big help when making your pizzas time after again!
The first thing you need know about different types or levels on pH for this post are that hard water has a higher pH than soft ones (usually around 12-14).
Hard water usually contains more minerals like calcium carbonate which make them alkaline while softer sources tend towards neutrality with less mineral content – they’re not as acidic but also don’t give off any extra yeast nutrients.
It makes a difference which type of water you use because it can affect the taste and consistency of your pizza dough.
In general, hard water is better for yeast-based recipes like breads while soft sources are best to use with quickbread or cake mixes that don’t need as much leavening agent (like baking powder).
This means it’s important not only what type you have but also how long ago a particular source has been used in order get consistent results when making pizzas!
So if one batch turns out different than another – check which kind was being added this time around first before looking at anything else because there might be an easy fix right on hand without having any other changes made between batches…just change up where they’re getting their H20 from next round instead so everything comes out consistently for you.
What Does Water Do To Pizza Dough?
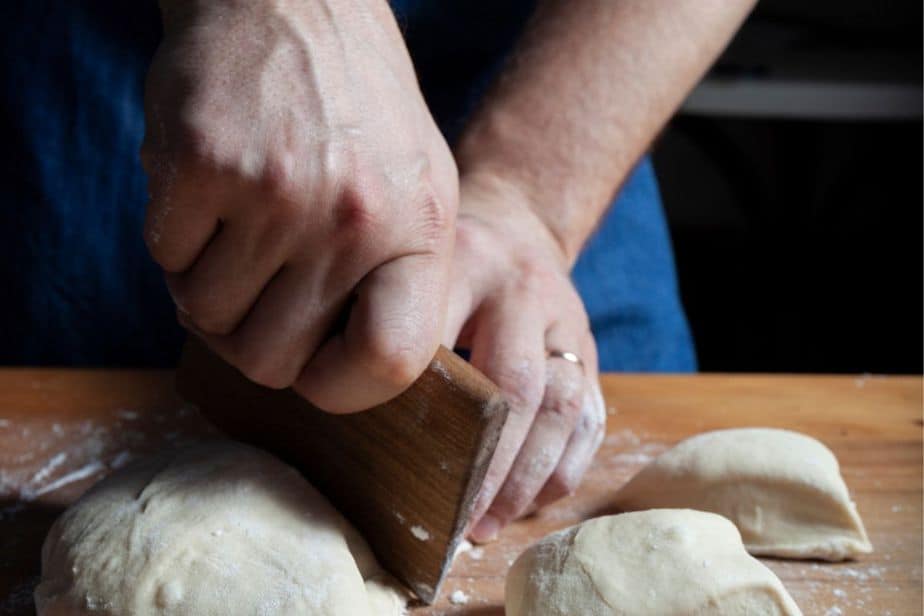
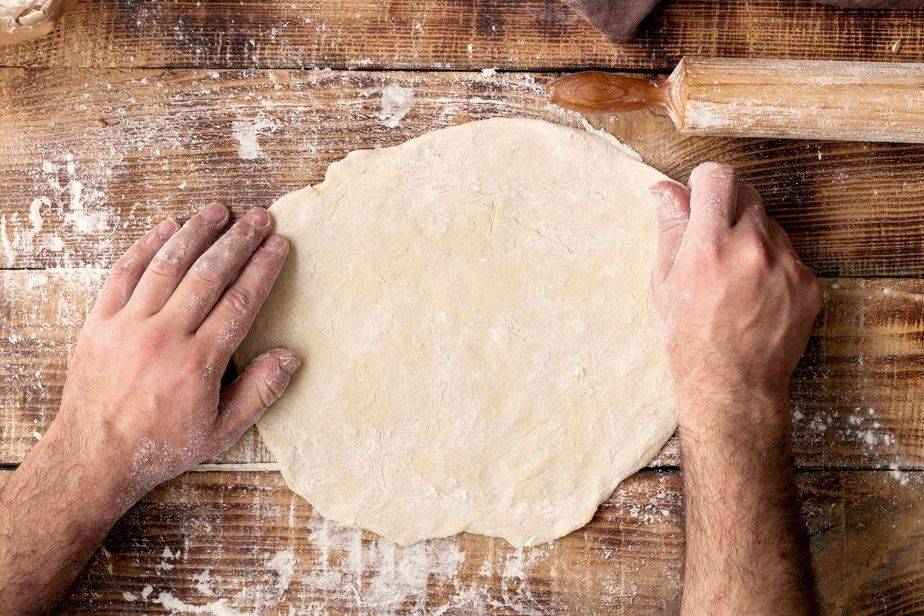
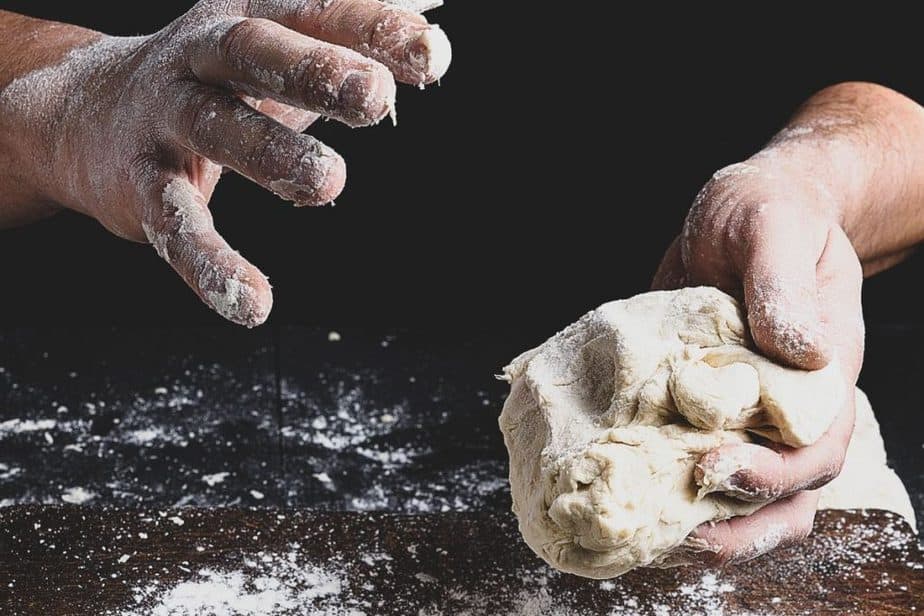
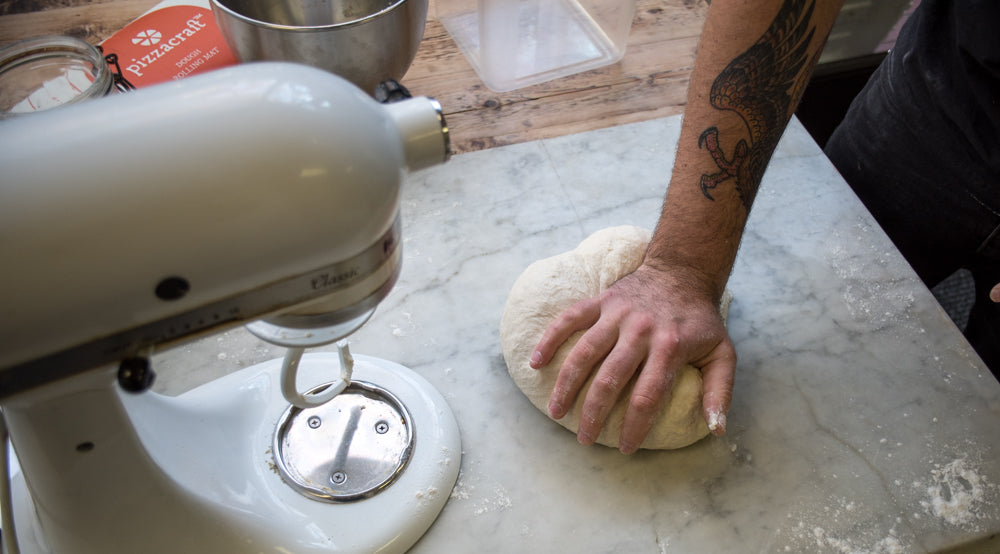
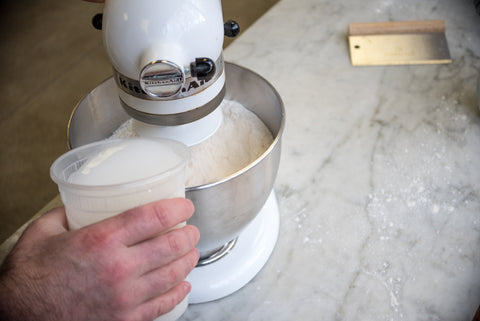
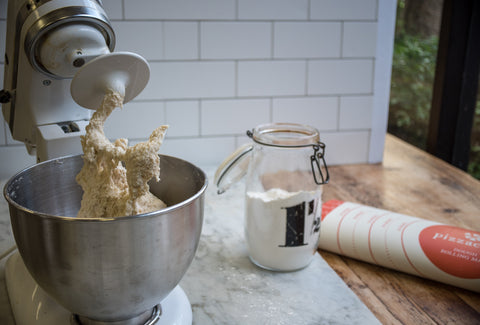
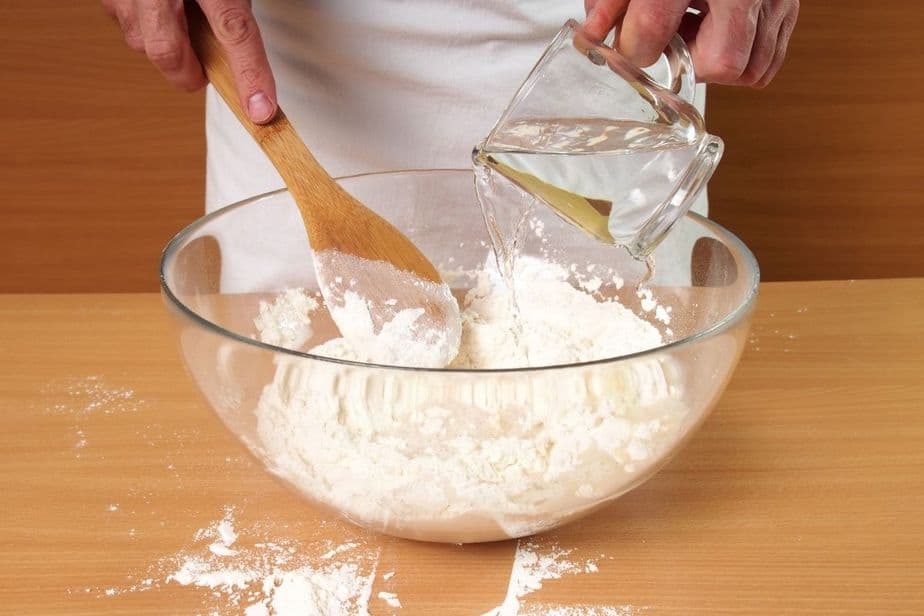
When you add water to the flour it starts a process in the dough called hydration. This process is what makes the dough pliable and stretchy, which can make it difficult to work with if you have a low water content in your flour mixture or too much liquid added at once without adding more dry ingredients as well (which will cause an imbalance).
The type of pizza that’s being made also has some impact on how wet/dry they need their pizzas so this needs consideration when making them for any particular kind – like focaccia might be drier than something else while still maintaining its shape better because there are no toppings involved but other types may benefit from having less moisture since sauce adds enough already!
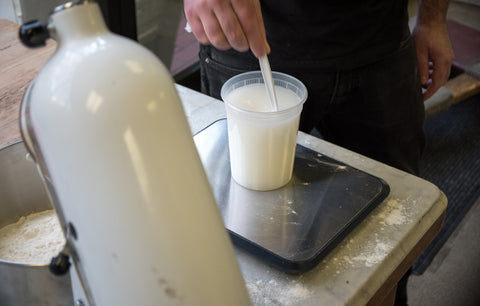
As well as effecting the hydration it also has an effect on the yeast. Different pH levels will alter the results from the yeast.
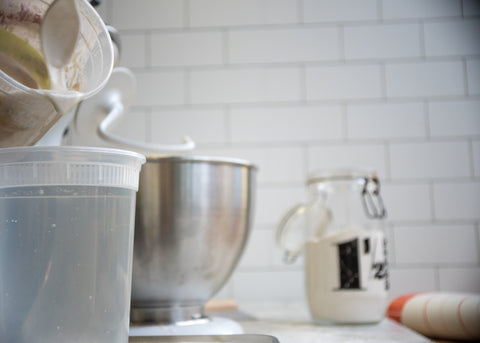
The best water for pizza dough is the one that you can control and will give consistent results with every time!
The secret to good, perfect crusts comes from controlling your ingredients – not just by using a different type of flour or yeast but also in how much liquid they use when making their pizzas too which means it’s important what kind (or types) are used as well if possible so there aren’t any surprises later on down this path.
What Is The Secret To Good Pizza Dough?
For me the biggest issue I had was getting consistent results every time I made pizza dough.
I had a lot of trial and error with different types, brands or amounts but it wasn’t until I started paying attention to the water that was being used in my recipe (and how much) as well which is what led me down this path!
It’s not just about using more yeast either because you can overdo things there easily enough if your other ingredients are off balance so for example adding less liquid will mean needing less flour – something else we need to control when making our pizzas at home every time.
The secret to good pizza dough is getting the water right.
The type of water you use can alter the results that are obtained in your pizza dough making and it’s important to know what effect different types or levels have on this process so we’re not left guessing when trying something new out for ourselves!
In my experience, I found hard tap-water had a tendency towards more yeast which is great if using less liquid but too much will make our pizzas tough – while soft (or distilled) waters made them taste really bland with no rise because there was just nothing happening at all during fermentation time due lack off any acidity from minerals like calcium carbonate present as well…so how do they compare?
Hard Water In Pizza Dough
Lets talk about the effect hard water has on pizza dough.
Hard water seems to dull the effect of the yeast which is why it’s a good idea to add more yeast if using hard water.
The downside of this approach, however?
The pizza crust will be tougher and less elastic than desired because the dough can become over-fermented due too much liquid or not enough flour in relation with how many times you kneaded your bread mixture before adding any other ingredients such as salt etc.
Its also difficult to judge the amount of yeast to add to the dough because you can’t rely on your usual measurements.
The end result is that hard water pizza crusts are often heavier and denser than desired – not a good thing for those who want light, fluffy bread with lots of air bubbles in it! This type off effect may be less noticeable if using soft or distilled waters but its still worth bearing this mind when making any kind of pizza whether at home or professionally as an artisan baker…or even just someone cooking up some homemade pizzas from scratch every now again like me 
!
The secret here? You either need more yeast or you need to use a softer water.
Soft Water In Pizza Dough
Soft water on the other hand obviously has the opposite effect. It means that you need less yeast in your pizza dough to get the same results as with hard water, which is good news for those who want a lighter and more airy crust.
This type off effect may be even MORE noticeable if using distilled waters but its still worth bearing this mind when making any kind of pizzas whether at home or professionally – especially because it can affect how much salt needs adding too. We all know what happens then right?
You’ll end up having salty bread instead of light fluffy ones. So make sure not to add extra table sugar (or honey) unless absolutely necessary.
Conclusion
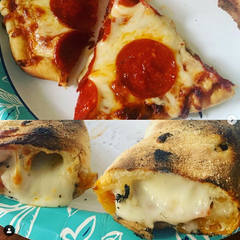
Yes water does matter and its often the overlooked ingredient in pizza dough. It can have a huge effect on the final product and its worth experimenting with different types of water to see which one you prefer for your pizzas.