Is Pizza Yeast Special?


is pizza yeast special

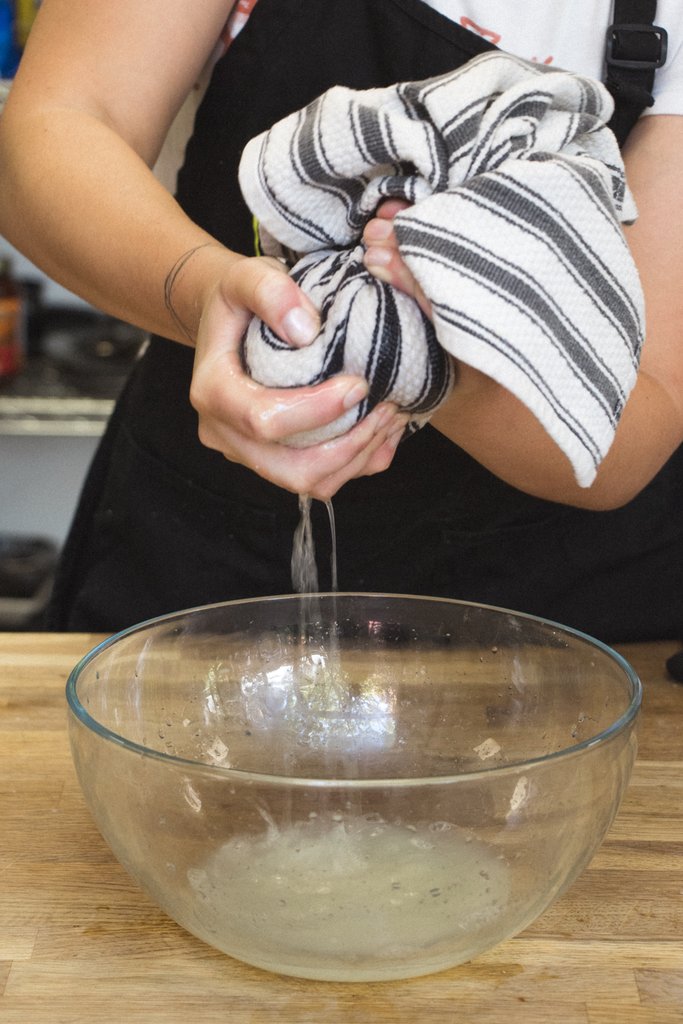
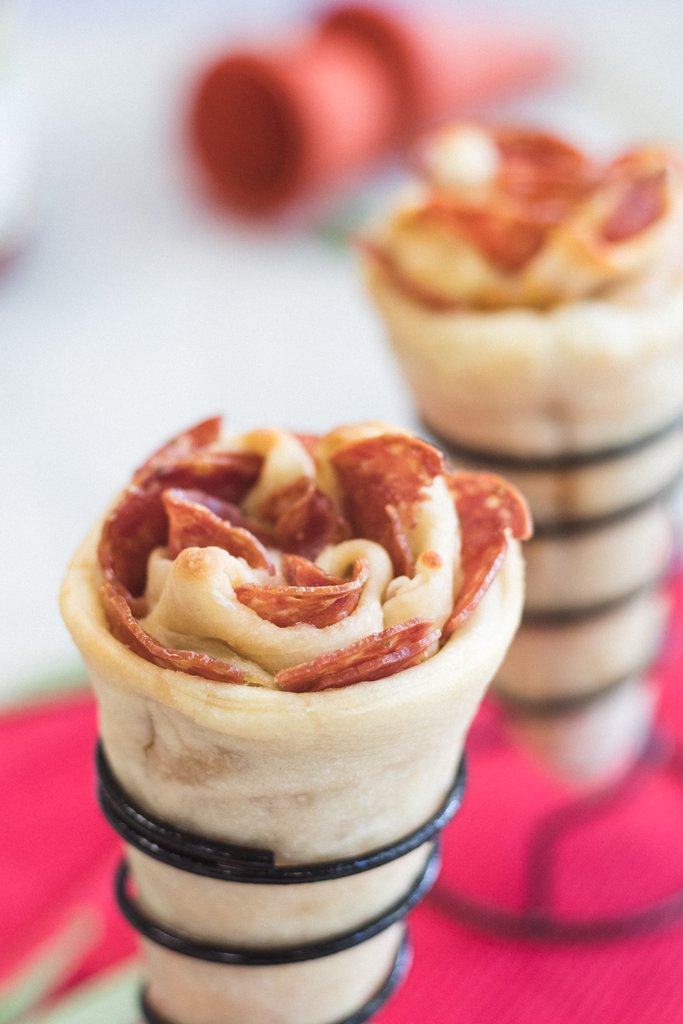
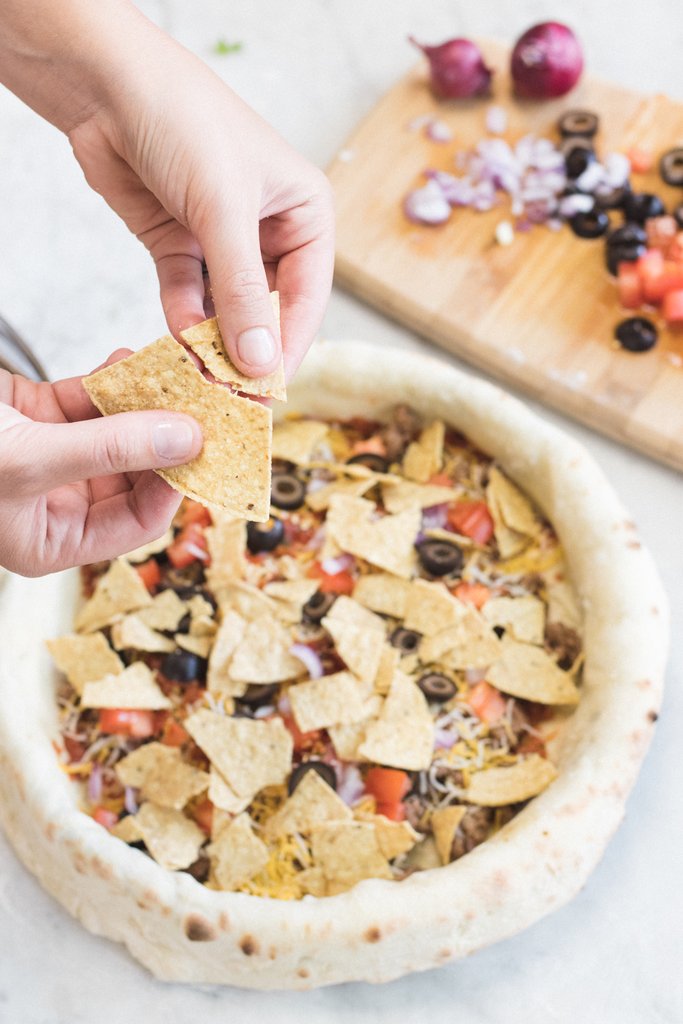
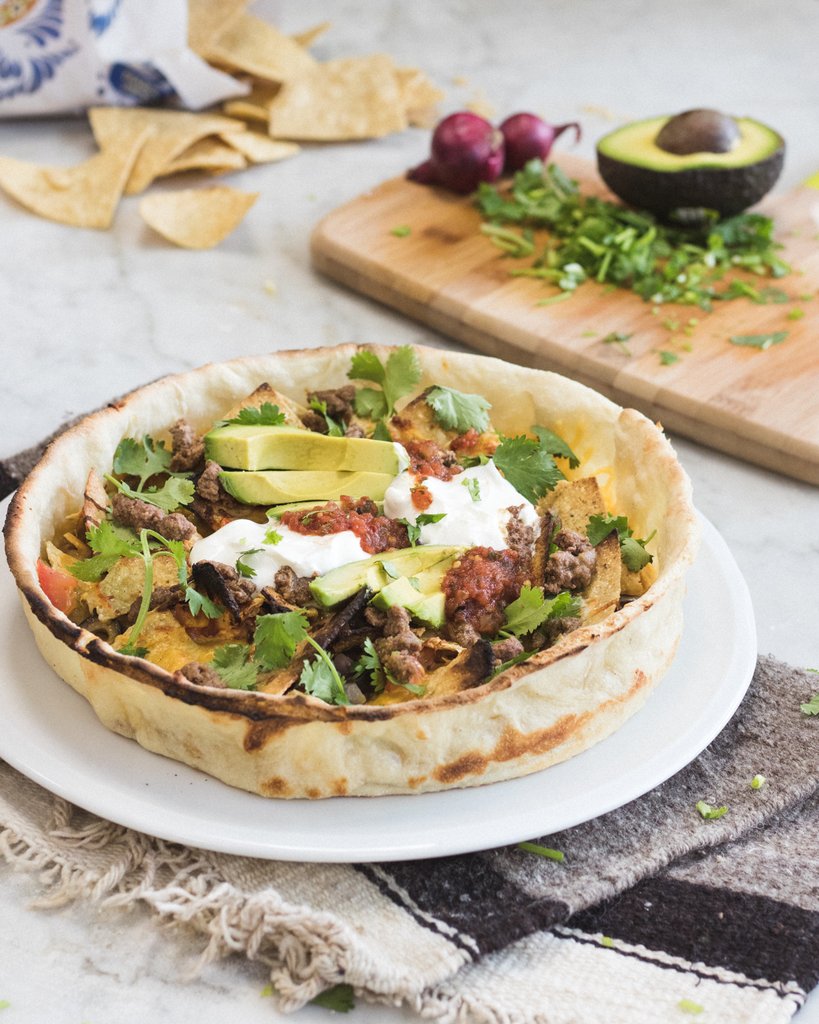
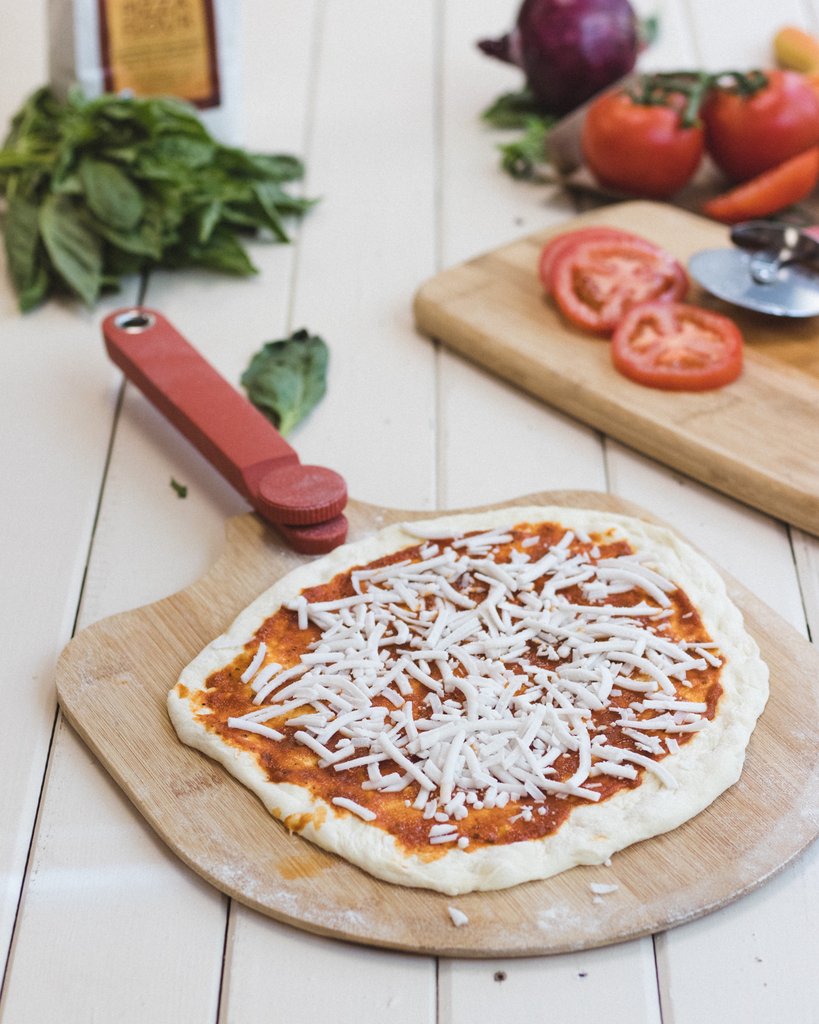
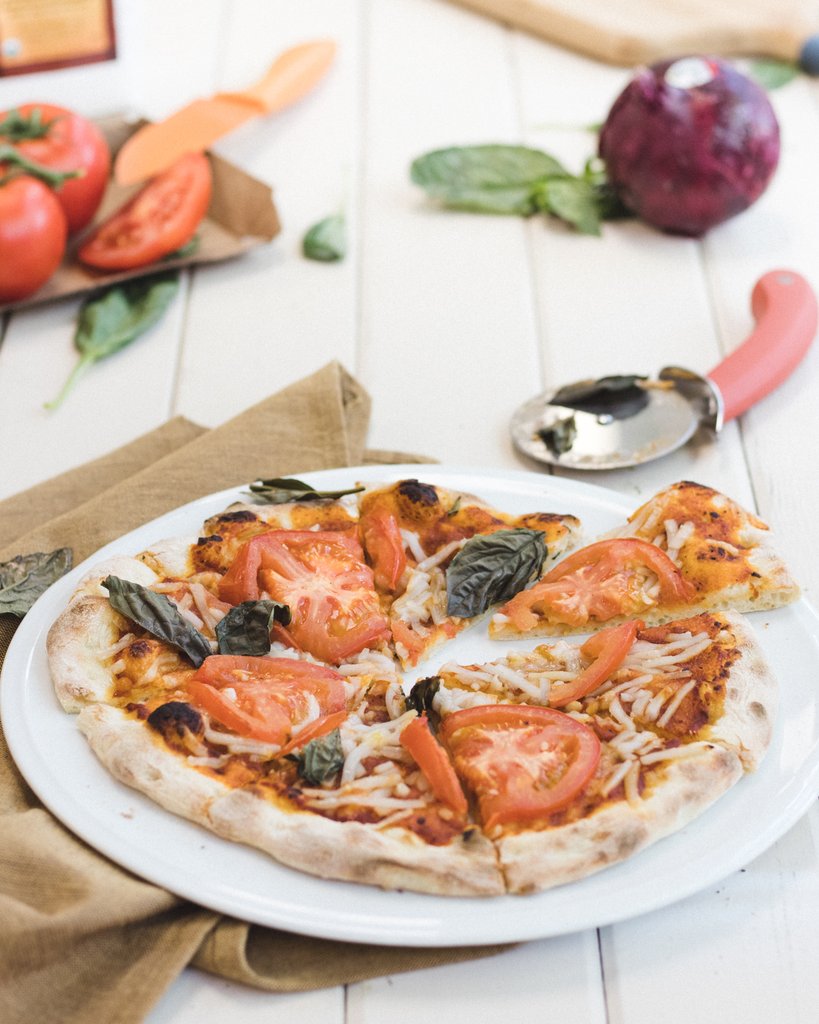
Yeast is an important ingredient in pizza dough. It’s responsible for the fermentation process, which helps to create a light and airy dough that can be topped with anything from cheese to vegetables. But when it comes down to yeast, what are you looking for? There are a variety of types available at your local grocery store or bakery. And some have even been specially formulated specifically for pizza making!

Another really key aspect to yeast in pizza dough making is using the right amount. Careful measuring is essential to ensure that your dough will rise properly and have the right texture. Also the pH levels of the water you use can effect the results of your dough.

If you’re looking for a little more flavor, there are also yeast varieties available with different flavors like garlic or onion.

If it’s pizza night at home tonight but don’t know what type of yeasts to use in order make an amazing crust then check out this article.

Which Yeast Is Best For Pizza?

Most people think yeast is yeast but you can buy yeast that is specially formulated for pizza making. This yeast is called “pizza” or sometimes “bread machine” and it has a higher percentage of active dry baker’s, which makes the dough rise faster than regular bread-making yeasts do.

The difference between these two types can be seen in their rising times: if you use standard baking/dough raising time (about an hour) then your pizzas will have more air bubbles because they’ve had longer to ferment.

Ideally you want a yeast that will make your dough rise quickly so it can be cooked before the yeast has time to ferment.

The best type of pizza/bread machine yeasts are those that have a higher percentage active dry baker’s, which makes them more suitable for quick rising times and will produce less air bubbles in finished pizzas because they’ve had shorter fermentation periods than standard baking or bread-making types do – but you’ll need an additional ingredient called “filler” (usually sugar) if using this kind as well.

What Is Special About Pizza Yeast?

So if making pizza dough ideally we want to use pizza yeast but what makes pizza yeast so special?

Pizza yeast is a type of dry active baker’s yeasts that have been specially developed for making pizza dough. They are usually in the form of packets, jars and sometimes loose-leaf varieties too which can be added to flour when kneading it into your own homemade pizzas from scratch!

The best types will make quick rising times so you don’t need long fermentation periods – but they’ll require an additional ingredient called “filler” (usually sugar) if using this kind as well because standard baking/bread machine kinds take longer fermentations than these do before their finished product has risen enough).

Pizza Yeast also needs less time at high temperatures during cooking compared with other breads like bagels etc.

Can Pizza Yeast Be Used For Bread?

I’m often asked if pizza yeast can be used for bread. The answer is yes, but it will need to ferment at a higher temperature than normal because the dough needs more time and heat in order to get enough rise before its baked.

Pizza yeast also has less gluten so you’ll want an extra egg or two added if using this kind of pizza yeast. Just like with other types that are only used by bakers who make their products on site (rather then those sold pre-packaged). This type should last about six months.

How Long Does Pizza Yeast Last?

All yeast has shelf life and pizza yeast is no different. The shelf life of this type will vary depending on the manufacturer, but it should last about six months if stored in a cool dry place like your pantry or fridge (not freezer).

Its important to only use yeast that is fresh because it will have a better rise and flavor.

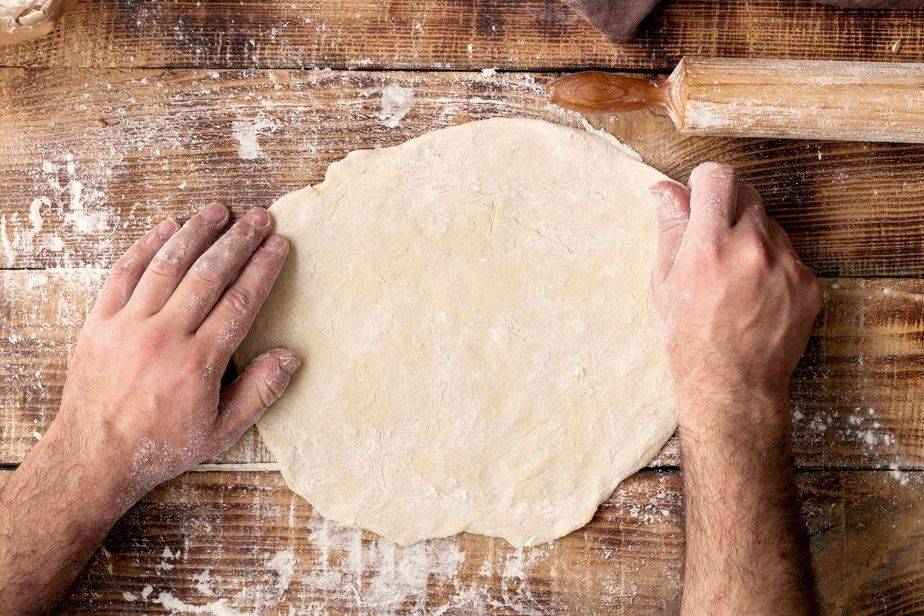
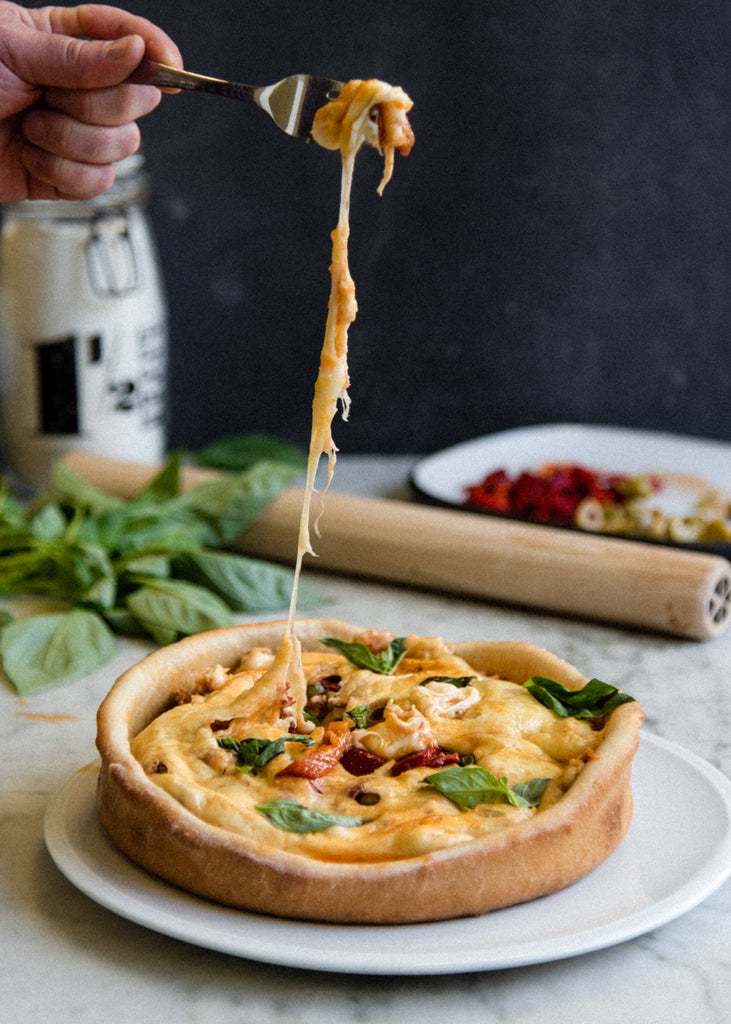
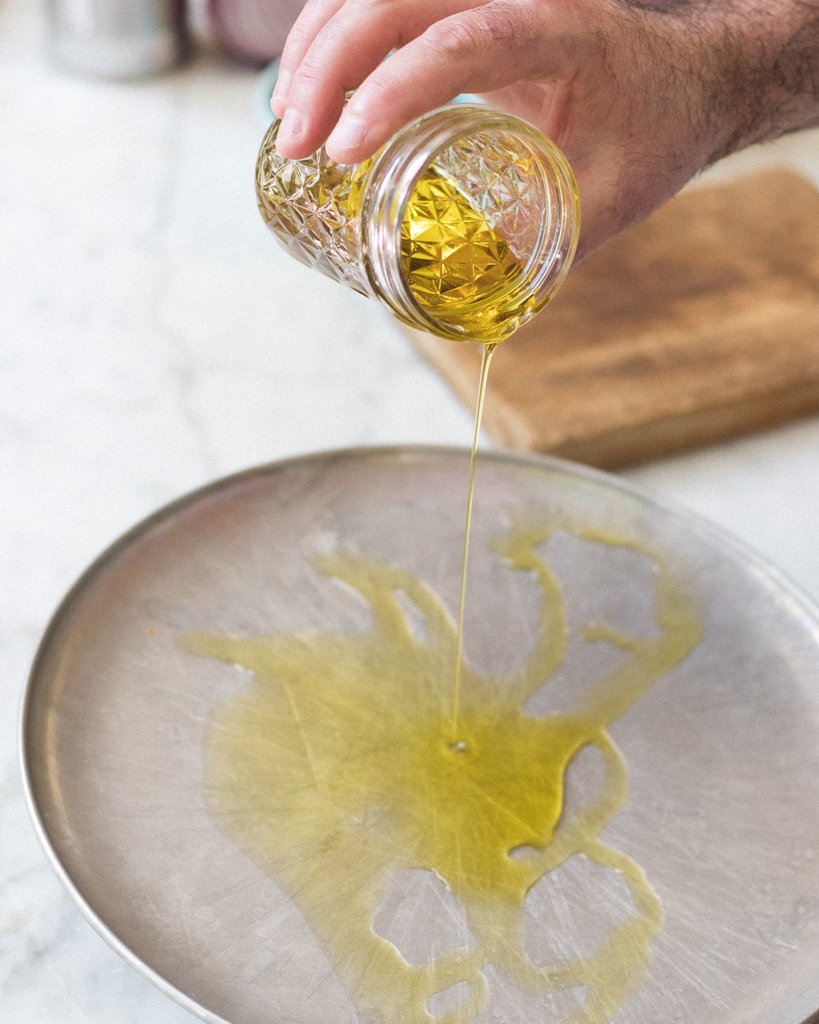
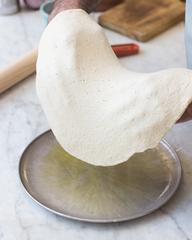
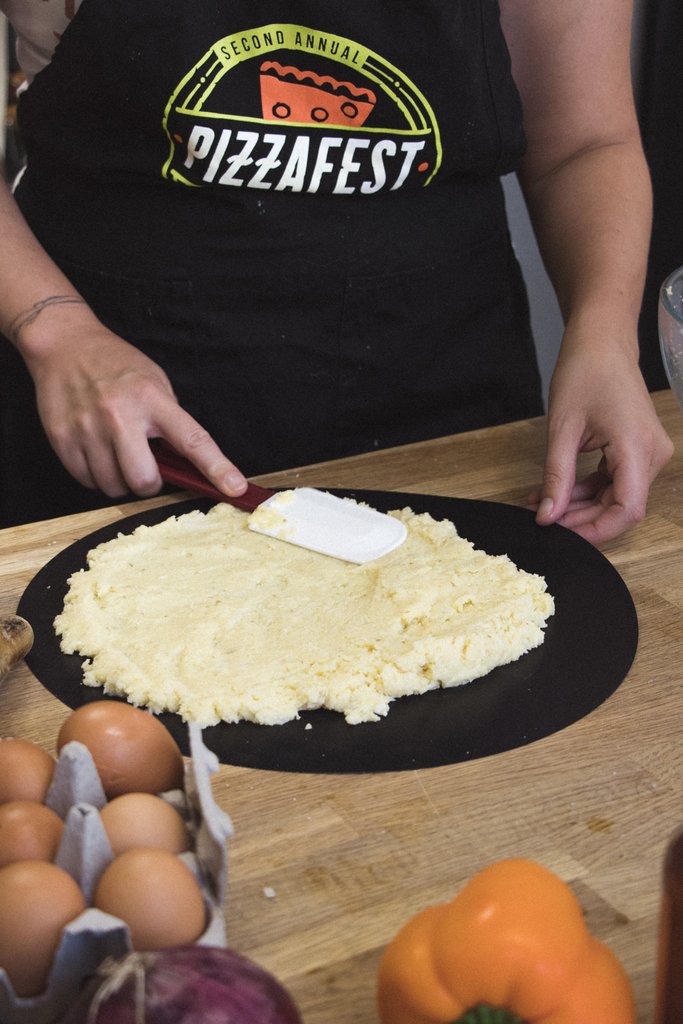
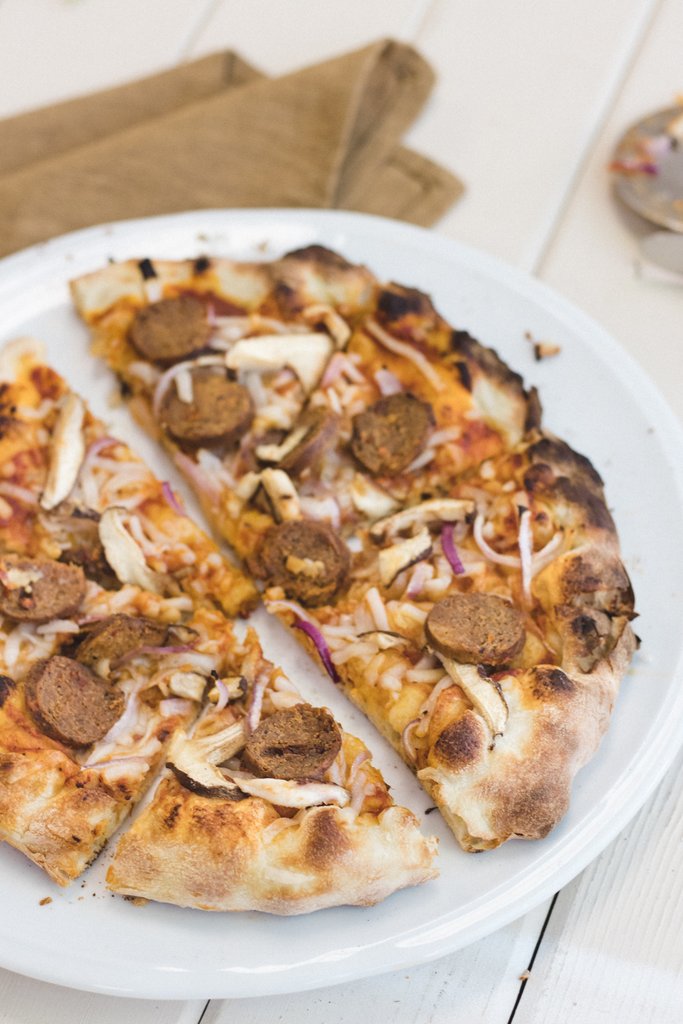
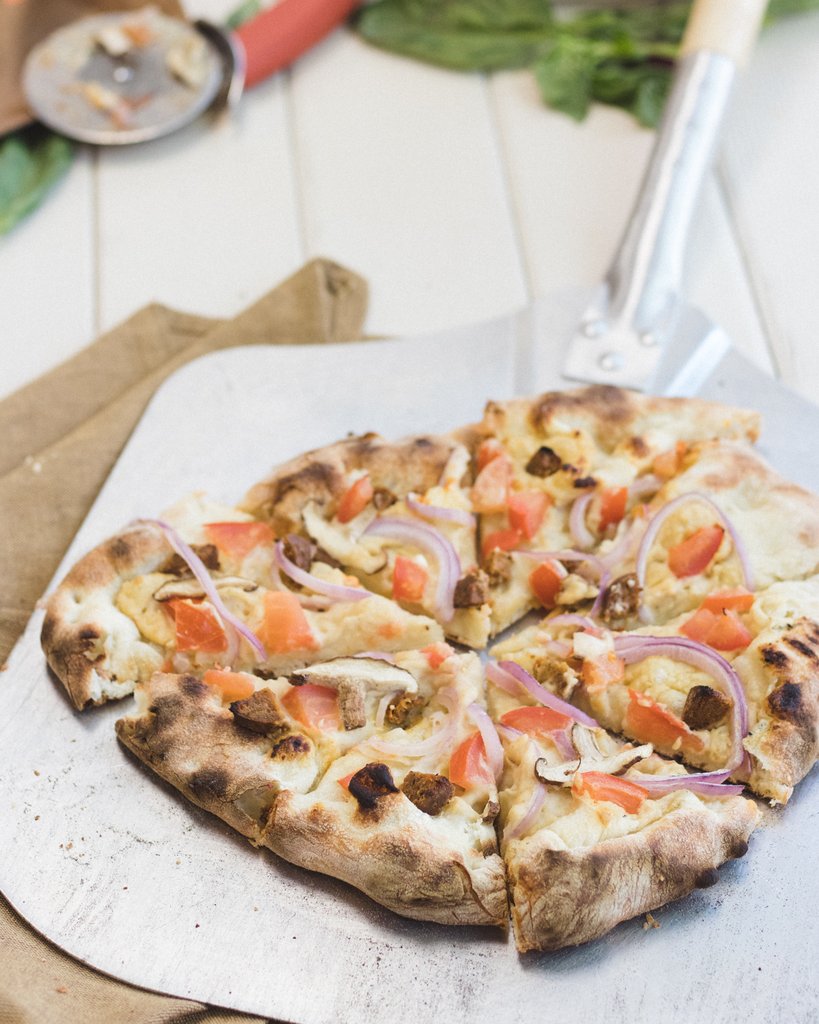
Pizza dough is obviously an important element of pizza making, but yeast can be just as vital to the final product if not more so then other ingredients like flour or water! Yeast needs heat in order for its natural enzymes that break down starches into sugars which are used to create a good structure to the dough and give it a nice fluffy texture.

Yeast is also responsible for the flavor and aroma of pizza dough, so its important to use fresh yeast if you want your pizzas tasting their best. If stored correctly in an airtight container with some sugar or honey as food source then this type can last up six months without any issues at all.

What Type of Yeast do Professional Pizza Chefs Use?

Professional pizza chefs use a type of yeast called “compressed fresh cake” or CFC. This is the most common form used in professional kitchens and it has been specifically designed for pizzas, breads with long fermentation periods like sourdough starters as well other types that need to be fermented at low temperatures.

Most home cooks use a different type of yeast called “active dry yeast” or ADY. This is the most common type of commercial grade, so it’s also what you’ll find in grocery stores and supermarkets.

A third option for home cooks are instant yeasts which have been designed to be mixed with water before adding them into a dough mixture.

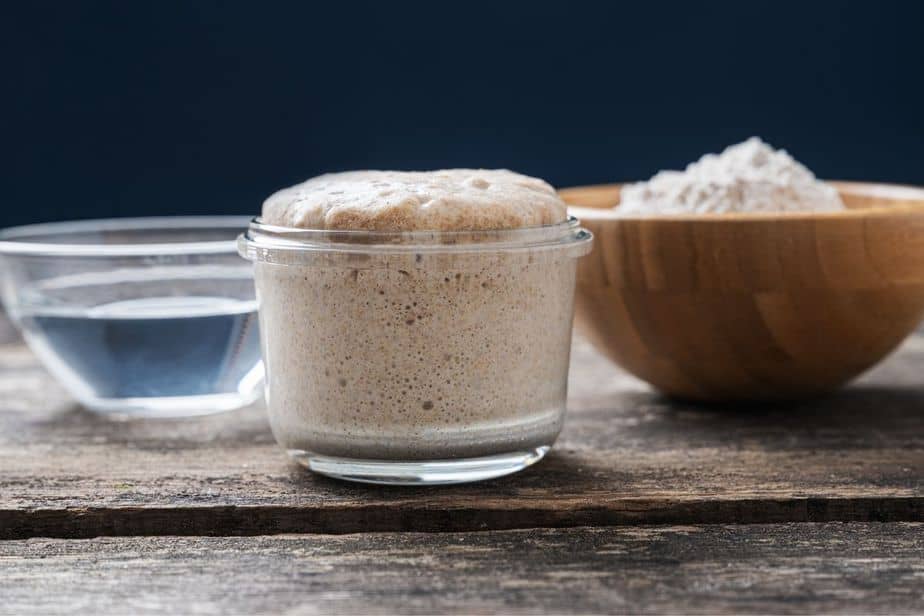
It is possible to buy fresh live yeast which is a type of yeast that is alive and can be used to make dough.

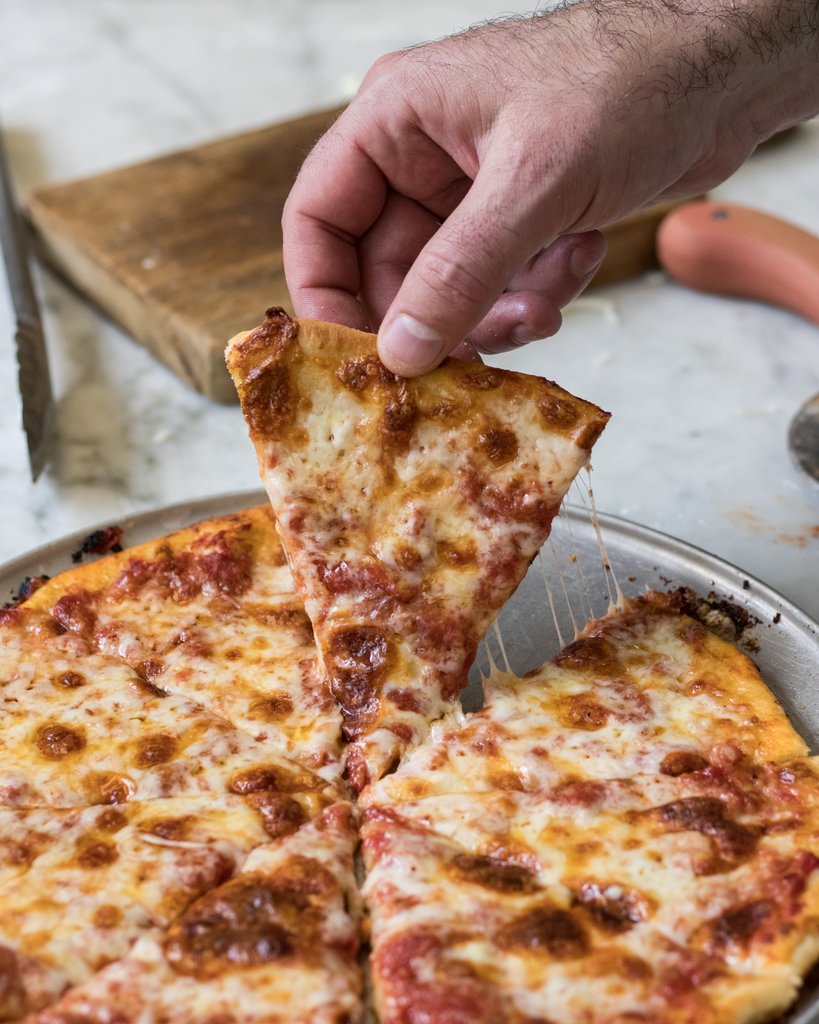
This has the advantage over ADY or instant yeasts because it will produce more bubbles in your pizza crust, giving you an extra crispy base with lots air pockets for maximum flavor release.

The only challenge with using fresh live yeast is that its much harder to find and it can be expensive. If you do have access, then this type of dough will produce a better tasting pizza.

Conclusion

Yeast is an important aspect to making pizza dough. There are three types of yeast that can be used to make pizza dough: active dry, instant and fresh live. Active Dry Yeast is the most common type found in grocery stores but it produces less bubbles than other yeasts which means a denser crust with little air pockets for flavor release.

Fresh live yeast makes a great pizza dough. It is more difficult to find and can be expensive. It produces the best tasting pizza dough with lots of air pockets for maximum flavor release, but it’s hard enough just finding fresh live yeast let alone trying out a new recipe.

If you have to go with ADY then choosing a pizza specific brand like Red Star or Fleischmann’s is a good idea. They have higher levels of yeast than other brands and the dough will rise better with more bubbles for flavor release.

It does often boil down to what is easy to get in your area. If you can find fresh live yeast then it’s the best choice but as we have said it can be expensive and also tends to come in large blocks with a limited shelf life. So bear that in mind before you buy it. If you only make pizzas occasionally then this might be a waste.

Why Does My Dough Shrink When I Roll It? ( Am I Doing It Wrong )


pizza dough shrink

If you’re into making homemade pizza then there are some things that can become a bit of a problem. One of the most common issues experienced by home pizza chefs is that their dough just won’t stretch out, no matter how hard they try. This can be incredibly frustrating when all you want is to tuck into your tasty pizza.

However, quite often, there is a simple fix to this problem and in this post, we are going to be giving you some top tips on what to do if your dough keeps shrinking back as you try to roll it out.

So, let’s get started!

What Causes Pizza Dough To Shrink?

Getting your dough rolled out is one of the most important parts of creating a thin crust pizza but you aren’t alone as a pizza lover. Pastry dough, bread dough, pie dough and various other types of doughs can all experience similar problems.

Where pizza dough is concerned, you should be considering the gluten network of the dough. To get a nice texture for your crust, you don’t want the gluten strands to be too tightly connected. In short, if the gluten network is too strong, your pizza won’t be easily rolled out to form a nice crust.

What’s The Deal With Gluten?

When you look at pizza recipes online, you will notice that one thing every recipe has in common is that it asks you to knead your dough and let it rise. This is all part of the process that gluten has to go through before the dough can be formed into a pizza base and crust.

Your pizza bread flour contains gluten in a dry form and when this is mixed with water, the gluten begins to stretch and become elastic. Kneading the dough helps this process and gives you a pizza dough that will easily form into a nice base.

On top of this, for a fluffier crust, you will need your pizza dough to rise. A key ingredient of any dough recipe is yeast. Yeast feeds on the gluten, altering its structure during the proofing process. Your pizza dough will rise and double in size. The point of this is that you will end up with a fluffier, thicker and more tasty crust.

How Do I Stop My Pizza Dough Shrinking?

Whether you are making apple pie, bread, pizza or anything else, many home chefs experiences problems when it comes to stretching their dough into the right shape. As we have discussed, the issue with pizza dough often lies in the gluten structure being too closely knit. But we have some great tips to improve its elasticity and help you to get something much easier to roll. Take a look at the steps below.

Follow The Recipe Closely

All pizza dough recipes contain similar ingredients; flour, yeast, water, salt, oil and sugar. There are many great ways to improve the stretch of your dough but you should start from the beginning and the first step is always to make sure that you use the correct amount for each ingredient.

Flour is a considerable issue here because a lot of the recipes you see online will tell you to add so many cups of flour. This is all well and good but depending on who is measuring the cup of flour, it may be more compressed than when someone else measures it.

For this reason, it is essential that you weight your flour and other ingredients in order that you get the mixture exactly as it should be from the get-go. Follow each step of your recipe and use weighing scales to get just the right measurements.

Consider The Protein In Your Flour

A lot of people think that you can use any old flour to make dough for a pizza pie crust but in truth, the type you use does make a difference. Most notably, you should consider the protein content of the flour.

There are different types of wheat flour, some contain more protein but these are typically bread flours and owing to the higher level of protein, they tend to have more gluten. Less gluten content flours work much better for pastries and lighter baked goods.

If you are looking for a deep pan, chewy crust pizza then using a lower protein flour is 1 of the first things you should think about. The protein should only be around 12%. Once you create your dough ball and let it rest, you will notice that it proofs much more nicely.

Increase The Proofing Time

It can be tempting to return to your batch of pizza dough and try to stretch it before it is ready. The whole point of the proofing process is that you give the dough time to rise; this is a very important step and should never be rushed.

During this time, the gluten will relax and this will make the dough much more stretchy. If this doesn’t happen for long enough, you will find that the pizza dough simply won’t stretch how you want it to.

If you are going to follow any of these tips, this should be at the top of your priority list. You will often see recipes online that give you advice on how to rush the proofing process and while you will end up with a half decent pizza dough at the end of it, you will also find that the crust is not quite what you expected; the texture and flavour will not be anywhere near as good as if you allowed your dough to proof for the full time.

As a rule of thumb, if you are proofing the dough at room temperature, you should allow it to proof for at least 90 minutes but for the best results you can keep it at room temperature for a few hours in a process known as slow proofing.

Any longer than this and your dough will need to be proofed in the fridge. You should place the dough into a mixing bowl, cover it over and pop it in the fridge for 24 hours.

Don’t Try To Stretch Cold Dough

Of all the ideas people have about how to make good pizza dough, stretching out cold dough is not a great idea.

When the dough is cold, it will snap back much more easily that when it is warm. You don’t need massive amounts of heat but if you take the dough out of the fridge, you will need to let the dough rest at room temperature first.

How long you do this will depend on the temperature of the air. If it is pretty warm and humid, you will need less time than if it is cool.

How To Stretch Your Dough

In order to get the best pizza pie crust, you will need to stretch the dough by hand. Many bakers will tell you to use a rolling pin, but typically, doing the stretching by hand will deliver better results. A pin will remove a much of the air inside the dough and this will result in a denser and less textured pizza pie crust. What’s more, it’s much more fun and a great way to get the kids involved in the cooking process.

Furthermore, when you do it by hand, you are able to hold the dough in position for a few seconds to give it chance to adhere to its new shape.

To get the best shape, put the dough onto your work surface. You should make an indent of about an inch around the edge of the dough; this will form the pie crust. Next, you just need to flatten the inner portion using your fingers.

The next step is to use the flat of your hand in an upwards motion to pull the dough and move it until you reach the desired size. Once it is at the right size, pop the dough over your knuckles and allow it to fall so that any thicker parts will even out.

Now put your base onto some parchment paper or a pie plate or pan lightly coated in fat or oil, cover it in toppings and pop it into the oven until it is cooked.

Conclusion

There is nothing quite like a hot homemade pizza, but getting from your raw ingredients to the finished product does take some hard work. The main issue for many home bakers is that their dough won’t stretch and keeps shrinking. This is typically because the gluten network is too tight.

There are several ways to rectify this issue and we have looked at some great tips to get you on your way to creating a wonderful pizza dough that will always deliver a delicious finished product! Bon appetit!

Cherry Tomato and Basil Flatbread

Fresh Take on Flatbread!

Fall is definitely here, but at Pizzacraft®, we’re trying to hold on to that summer feeling as long as possible. This Cherry Tomato and Basil Flatbread recipe is a taste of summer that will remind you how versatile pizza toppings can be. The combination of the fresh crisp salad and the warm flatbread make for a perfectly complex bite. We heated up our Baking Steel and got to business on this new summer (or fall) favorite. So hit the grocery store and find some of the final fresh tomatoes and basil of the season and get to work on this warm summer delight. 

 Oil with a Twist 

We combine olive oil and sliced garlic to make a zesty infused oil that adds heaps of flavor to the salad as well as the flatbread. The flatbread is hearty enough to eat solo for a light meal. It is also a great way to give your menu a twist when making a bunch of traditional-style pizzas on pizza night.
pizzacraft®, baking steel, pizza dough, flatbread recipe, tomato basil flatbread, pizza stone

Steel vs. Stone

This flatbread recipe is so quick and easy to make, it’s our go-to choice for a healthy weeknight meal. Our Baking Steel is one of our favorite methods for making a pizza on the grill. Baking Steels conduct heat better than a pizza stone, store more heat per unit volume, and stabilize at a lower temperature.
Baking steel, Pizza Steel, Flatbread, Pizza on grill, Pizza on steel

Ingredients

1 portion pizza dough1 cup halved cherry tomatoes¼ red onion julienned1 cup ciliegine sized mozzarella*1 cup torn basil leaves4 garlic cloves¼ cup extra virgin olive oil½ lemon*if you can’t find ciliegine sized mozzarella you can cut any sized mozzarella into½ inch chunks

Instructions

Preheat your pizza steel on your grill with indirect heat or in your oven for 20
minutes. While the steel preheats, slice the cloves of garlic as thin as possible and
combine with the olive oil.

When the steel is done preheating; stretch your dough
and place on your floured pizza peel. Using a dough docker or a fork, prick the dough all over. Drizzle the dough with the garlic-infused olive oil and give it a sprinkle of sea salt.
Make sure to reserve at least a tablespoon of the garlic-infused olive oil.Slide the dough onto your pizza steel. While the dough cooks, combine the
mozzarella, tomatoes, basil and onion in a bowl. Squeeze the lemon over the
tomato mix and add some of the garlic-infused olive oil. Season with sea salt and mix to combine.
Remove the dough from the steel and top with the salad mixture and serve
Flatbread pizza, baking steel, tomato and basil flatbread, grilled pizza, pizza on grill, pizza stone

 Heat up the Steel!

In a 500°F oven, a baking steel will stabilize at around 450°F due to the steel’s radiative properties. It gives constant heat even as it absorbs it, causing it to stabilize at a temperature that’s slightly cooler than the air around it. Even though the steel is cooler than a stone, it is far superior at transferring energy to whatever is placed on top of it.
 pizzacraft®, Pizza steel, baking steel, pizza on grill, grilled pizza, pizza stone, pizza steel

Pizzacraft® Baking Steels are pre-seasoned with vegetable oil. Seasoning helps to condition the steel and prevents food from sticking to it.

Pizza steels are intended for oven use.Only use indirect heat if using on a grill. Do not turn burners on directly under the steel.


20% Off The Baking Steel 

This Weekend Only! Use The Code STEEL20 at Checkout!

For More Recipes Check Out:

Homemade Pita Bread Nacho PizzaGreek Yogurt Pizza Dough 

This week’s PIZZA OF THE WEEK is made by Inna @theflourfloozy! Inna made a beautiful pizza this week on her Pizzacraft® Pizza Stone! Thanks Inna!

@theflourfloozy, pizza, pizzacraft®

Thanks so much to everyone else submitting pizzas! I see you, keep baking it looks delicious! 

Share your next pizza creation on Instagram @_pizzacraft  or #pizzacraft. Next week will choose our favorite pizza our favorite to feature right here on the blog! 

Brief History of Pizzacraft

Pizzacraft® was born to be your one-stop shop for a quality set of pizza making tools. Pizzacraft® features an extensive line of artisan quality pizza stones, pizza ovens, tools and accessories for crafting and baking pizzas at home, in the oven or on the grill. Be sure to check out our other products onPizzacraft.com, they’re designed to make you a better pizzaiolo! 

Contact us any time at [email protected]

Chicago’s Pizza Pot Pie Recipe

Chicago’s Famous Pizza Pot Pie Recipe 

Everyone knows the Chicago deep dish pizza but I doubt many people have heard of their other famous pie… the Pizza Pot Pie. It’s nowhere near as widespread as the classic deep dish but it definitely has a cult following.  When I stumbled across a video of the pizza potpie from Chicago Pizza and Oven Grinder Co. I knew I needed to try and recreate it. 

First off what exactly is a pizza pot pie? Well, it’s a pizza in reverse that’s cooked in a bowl. However, we prefer to use an 8-in deep dish pizza pans instead of potentially staining or ruining a nice bowl. The sauce is also a little different; it’s essentially a meat sauce almost like a ragu or bolognaise. Very, different compared to a more traditional pizza sauce. The cheese, however, is what really makes this pizza famous. It stretches, it’s gooey and most important of all there is a lot of it.

Pizza Pot Pie Recipe

Pizza Pot Pie

Ingredients

2 cups of Ragu1 cup of roasted bell peppers sliced½ cup of sliced olives2/3 lbs of low moisture mozzarella cheese sliced1 portion of pizza dough3 tablespoons of melted butter

Steps: 

Preheat your oven to 400F. Put the ragu in a pot and heat over medium heat. Meanwhile, brush melted butter on the inside of an 8in deep dish pizza pan saving the remaining butter. Line the inside of the pan with slices of mozzarella making sure to go up the sides of the pan as well. Sprinkle the cheese with the bell peppers and olives. When the ragu is hot, pour it into the pan.

deep dish pizza recipe

Chicago pizza recipe

pizza blog

Roll your pizza dough into 10-in wide circle. Carefully drape the dough over the top of the deep dish pan. Place the pan on a sheet tray and transfer to a 400F oven.Cook the pizza pot pie for 20 minutes or until the crust becomes golden brown.

pizza pot pie recipe

Remove the pizza from the oven and brush the crust with the leftover butter. Place a plate on top of the crust and using a pair of kitchen gloves hold the plate and the pan and flip over so the plate is down and the bottom of the pan is facing up. Use a spoon to gently loosen the crust all the way around the outside of the pan. Remove the pan and serve.

Try It With Your Own Deep Dish Pan

deep dish pan

 Aluminum Deep Dish Pizza Pans 

For More Alternative Recipes Check Out:

Homemade Pita Bread RecipeChicago Bar Style Pizza Recipe 

This week’s PIZZA OF THE WEEK is made by Andrea @cellarandsalt – She made an amazing looking pie with the Stovetop pizza oven, great work! 

pizza of the week

pizza oven

Thanks so much to everyone else submitting pizzas! I see you, keep baking it looks delicious! 

If you tried out the BAR PIZZA I would love to see on Instagram @_pizzacraft  or #pizzacraft. Next time we will choose our favorite pizza to feature right here on the blog!

Did you miss our previous article…
https://www.topthispizzaco.com/?p=377

Bar Style Pizza Recipe

Long-Standing Pizza Debate

I try to never ask because it inevitably ends in an argument. No, I’m not talking about politics, I’m talking about pizza. Whether you are asking about the best pizza joint in town or the best style of pizza you are sure to hear a lot of opinions that are presented as matter of fact. There’s, of course, Neapolitan, New York, Chicago, and Detroit pies just to name a few. Then there is the side that says deep dish pizza isn’t truly a pizza. I’m not saying I agree so all you Chicagoans don’t go flooding the comments below.

Bar Pizza

What Makes A Bar Pizza? 

I don’t want to make the debate any harder than it already is but I do think that Bar Pizza need a little bit of the spotlight too. Bar pizza also known as tavern pizzas are popular in New England. Two of the more notable establishments would be Star Tavern in New Jersey and Lynwood Café in Massachusetts.You might be thinking “what’s so special about pizza served in a bar? I have been to plenty of pizza spots and had a drink with my slice.”The pizza has a few unique properties. It is rolled out very thin and sauced all the way to the edge of the dough. The pizza is also cooked in an oiled pan.

It’s thought that owners of bars wanted to offer some food to keep patrons in their seats instead of going somewhere else for food. The thin cracker-like crust is believed to have come about because owners wanted to make sure you don’t fill up too much leaving plenty of room for more beverages.As anyone who has worked in the restaurant industry can tell you, beverages are where you make most of your money.

What’s On It? Baked Bean, Salami, Onion?!

The toppings tend to be the traditional run of the mill toppings. The most popular being pepperoni, but let’s be honest it’s the most popular topping on any style of pizza. However, one of the most interesting combinations that I came across was the Bean Special from Lynwood Café. It comes with baked beans, salami, and onion. We couldn’t resist and had to make one ourselves. I was pretty skeptical of the pizza, assuming that it was just a gimmicky item on their menu. Who knows maybe it is, but let me tell you it was surprisingly good. The saltiness of the salami mellowed out the often overpowering sweetness of baked bean, while the onions really pulled everything together. I know it sounds crazy but give it a try.

Make Your Own At Home

Instructions:

1.  Spread 1 tablespoon of extra virgin olive oil on an oven pan or the Aluminum Pizza Pan if you have Pizzeria Pronto® to cook in! Place the dough on the oiled pan.

Oiled Pizza Pan

2. Using a Pizzacraft® rolling pin roll out pizza dough so that is about 1/8 of an inch thick on a floured work surface. Use a Dough Docker to remove all air bubbles! This is not a pizza you want getting all puffed up.  Place the dough on the oiled pan.

dough docker

bar pizza

3. When adding the tomato sauce be sure to go light. The crust is thin and can easily become soggy. Spread the sauce all the way to the edge of the dough and sprinkle with low moisture mozzarella.

4. Add the toppings of your choice. Try bean, salami, onion!

5.  Bake for 7 minutes at 550 degrees F or until the bottom is golden brown and crispy. Serve and Enjoy! 

Tavern Pizza

Try It With The Pizza Pan

Pizza Pan with stand

Pizza Pan

Pizza Pan With Stand For ServingPizza Pan / small, medium, large


For other fun recipes check out:

How To Make Homemade Crepes! Cheese Stuffed Garlic Knots!

This week’s PIZZA OF THE WEEK is Jenny @LivingBreadBaker! Not only can she make amazing loaves of bread, but she also has a Pizzaque where she churns out some amazing pizzas like this one! Great work Jenny!

pizza of the week

Thanks so much to everyone else submitting pizzas! I see you, keep baking it looks delicious! 

If you tried out Bar Pizza in your Pronto® or in your own oven I would love to see on Instagram @_pizzacraft  or #pizzacraft. Next week will choose our favorite pizza or pita to feature right here on the blog! 

Cauliflower Pizza Crust Recipe

Why Cauliflower?

Cauliflower pizza crust is a great alternative to pizza dough for those looking to try something new, low carb, or a little healthier. Not only that, but this pizza crust is naturally gluten-free making it a great option for those who are looking for gluten-free dough recipes. Made up of mostly cauliflower and held together with the binding agents of cheese and egg this pizza crust compliments most pizza toppings very nicely.

Cauliflower Pizza Crust

Admittedly, it does taste a lot like its main ingredients, cauliflower and egg. While this is not necessarily a bad thing, those that are trying to satisfy a real pizza craving may want to add the Pizzacraft® herb blend to their recipe to try and mimic pizza dough flavors a little more. Additionally, it does take longer to cook than a regular pizza because it is not really a dough substance, it is a baked crust and it is important that the bottom browns to keep the crust together.

How To Make Cauliflower Pizza Crust

Ingredients

1 head cauliflower (white, purple, green, or yellow!)

1/2 cup low moisture shredded mozzarella

1/4 cup grated Parmesan

1/2 teaspoon dried oregano 

1/2 teaspoon kosher salt 

1/4 teaspoon garlic powder 

1/2 teaspoon Pizzacraft® seasoning herb blend

2 eggs, lightly beaten 

Directions 

1. Preheat the Pizzeria Pronto® oven or conventional oven with baking stone to 500º F.

2. Remove the stem from the cauliflower stalk. Break the cauliflower into florets and pulse in a food processor until fine. Steam in a steamer basket for a few minutes. Let cool.

3. Place the steamed the cauliflower on a clean dish towel and ring out as much water as you can. Repeat several times.

Cauliflower pizza dough

4. In a large bowl, thoroughly combine cauliflower, mozzarella, parmesan, oregano, salt, garlic powder, Pizzacraft® herb blend, and eggs.

5. Spread into 1/4 inch thick circle on a baking sheet or parchment paper. Carefully move the crust to a pizza stone or the pizza oven and bake for 15 minutes.

Gluten free pizza dough

6. Remove the pizza, add desired toppings and bake an additional 10 minutes until the bottom of the crust begins to brown.

Tips:

The trickiest part of this process is not ripping the crust as you transfer it to the oven. In its uncooked state, the cauliflower wants to crumble. If possible, make the pizza on parchment paper while on metal pizza peel so that the transition to the oven is easy. Once the crust is fully cooked it holds together a little better.

Cauliflower Pizza Crust

For other pizza recipes check out:

Best Vegan Meat and Cheese For Pizza How To Eat Pizza On A Diet 

This week’s PIZZA OF THE WEEK is @summerbbqchallenge! Jesse is always making amazing things on his grill, including some tasty looking pizzas on his Pizzacraft Baking Stone.

Pizza Of The Week

If you tried out the cauliflower pizza crust I would love to see on Instagram @_pizzacraft  or #pizzacraft. Let me know what you thought of the flavor in the comments below. Next week will choose our favorite pizza to feature right here on the blog! 

Pizza Roses

How To Make Pizza Roses

A fun way to change up your pizza night is to make a cheese stuffed pizza cone. The pizza cone is like an ice cream cone except it is made with dough and filled with your favorite toppings.

The process is a little more complicated than making a regular pizza, but the results are worth it. The Pizzacraft® Pizza Cone Set makes things easy by giving you a template to cut out your cones and holders to cook the cones upright in the oven. We used our set to make a Pinterest favorite, Pizza Roses, except ours or stuffed with cheese and pepperoni!

Pizza Roses

Start With a Pizza Cone

Steps

Pre-heat oven or grill to 400° F.Roll your pizza dough out to 1/16″ thickness and use the cutter to cut out two pizza cone shapes. 

Pizza Cone
Dab edges of the dough with water and fold over to seal. Use the Pizza Cone Set dough crimper to ensure the seam is closed. 

pizza cone
Lightly flour the silicone cone mold and slide dough onto the mold. Par-bake this cone upright for 6-8 minutes, or until it begins to lightly brown.Remove cone from oven or grill, let it rest for a few minutes then remove crust from the cone mold.

pizza cone recipe
Place par-baked crust into the pizza cone stand and fill with your favorite ingredients.Return stand and crust to the oven or grill and bake until golden and bubbly.Let cool before eating… if you can wait that long!

If you want to take things a little further you can add an extra step and make your Pizza Cones pop with Pizza Roses for the top!

To Make The Pizza Rose Top:

Cut a strip of dough that is about 8” long and 1.5” wide.Very lightly spread sauce over the dough.Layer pepperonis longwise across the dough, leaving a little bit of dough open at the end.Add cheese on the Botton portions of the pepperonis and then roll them longwise into a rose shape.Par-bake this rose upright in a muffin pan until it holds its shape. You can use tin foil to keep it in place while baking if your muffin tin is too big.Once both your cones and roses are par-baked, simply slide the rose into the top of your pre-stuffed cone and finish cooking!The result will be a cone overflowing with rose pedal top, which looks just as good as it tastes.

Pizza Roses

For other fun recipes check out:

Nacho Pizza Recipe Grilled Flavors For Your Pizza 

This week’s PIZZA OF THE WEEK is a poolside pie made by @cassandrareads. We love to see folks making pizza outdoors in their Pizzeria Pronto® Pizza Ovens. Great work Cassandra!

 
_pizzacraft pizza of the week

If you made your pizza this week or tried your hand at the pizza roses we would love to see on Instagram @_pizzacraft  or #pizzacraft. Next week will choose our favorite pizza to feature right here on the blog! 

Nacho Pizza Recipe

Nacho Pizza!

This funky mashup is perfect for family game night or even watching the world cup! The Nacho Pizza is one of the more contrived pizza recipes we have ever made, yet it still tastes amazing. How could it not? The pizza dough base basically turns into a giant soft taco shell for the “deep-dish” nachos to sit inside. If you do it right, the Nacho Pizza can even be cut into slices.

Pizza Nachos Recipe

The Crucial Step 

The most important part of making the Nacho Pizza is making sure the pizza dough base holds up. We used the aluminum deep dish pan and par-baked the dough in the Pizzeria Pronto® so that it would keep its shape.

Par baked Nacho Pizza

First, get the Pronto (or your conventional oven) to about 500ºF, place the prepared dough in the pan with the excess dough flopping over the sides. Press the edges into the sides of the pan to form its shape. Next, par-bake the dough for about 3-4 minutes until it just starts to firm up. Remove from oven and trim off excess dough. Now it’s safe to add the toppings and not have a soggy bottom!

Ingredients  

Once your deep-dish is par-baked and ready you can add your favorite nacho toppings. For ours, we went the triple-decker dip style, layering ingredients and chips.

Nacho Pizza

Ground Beef (pre-cook)Three Blend CheeseBeans Olives Salsa Tortilla Chips – We recommend thick ones! 

Avocado, sour cream, lime, and cilantro to add after cooking if desired.

Bake for 5-6 more minutes at about 500ºF to melt all the cheese without burning the chips. Top with your favorite nacho toppings. 

To remove final pizza from the pan, we lifted up one side and slide a plate under to keep its shape. Eat from the pizza bowl or cut your own slice!

pizza nachos

For other fun recipes check out:

 Twisted Pizza Braid How To Make Crepes 

Try out the Nacho Pizza this week. If you make your own we would love to see on Instagram @_pizzacraft  #pizzacraft. Next week will choose our favorite pizza to feature right here on the blog! 

The Best Vegan Cheese and Meat For Pizza!

Crafting A Vegan Pizza 

I will admit, at Pizzacraft® we have a lot of traditionalists. They love their classic pizza recipes and when I said we were making vegan pizza there were eyebrows raised. Even though I am not vegan myself, I have a lot of family and friends with a dairy intolerance or a lifestyle free of animal products that are snubbed when it comes to pizza. We have made concessions for gluten-free dough, so why hasn’t vegan cheese been given a chance to be MVP yet!? After all, a vegan lifestyle is becoming more and more commonplace.

Restaurant menus are offering vegan options; vegan substitutes (like flax seed for egg) are very popular, and we have noticed vegan cheese stepping up to stake its claim on pizza.

FYI: If you don’t add cheese to a veggie pizza, then you got yourself a vegan pie – but that doesn’t seem to step up to the full challenge. I wanted to experience what all the vegan cheese/meat hype was about and craft a pizza that would satisfy all parties.

The Best Vegan Cheese For Pizza

The best vegan cheese for pizza

I did some research and the most recommended vegan cheese for pizza is pretty consistently cashew nut cheese. At our local Whole Foods, I was able to find two types of cashew mozzarella. It cost about the same price per ounce as regular mozzarella cheese but does appear a little bit grey in color.

With a few more recommendations I decided we should also test a vegan meat option, so we got the Tofurky Italian sausage and made three different vegan pizzas.

Pizza One – Vegan Tomato Pizza

Vegan Pizza Recipe

Ingredients

>Cashew Nut Mozzarella Cheese Tomato Sauce Fresh Tomatoes Basil Plain Dough 

Results

Personally, I was very surprised at the taste of this pizza. The cashew nut cheese didn’t melt entirely or get gooey, but the pizza tasted good. In fact, a few people wandered into the kitchen and took a blind bite with no complaints (that’s pretty promising with this picky crowd). I was also told that if you are looking for a vegan cheese that melts more you could try the brand: Sheese.

Pizza two – Vegan Sausage Pizza

Vegan Pizza Recipe

Ingredients

>
Tofurky Italian Sausage Shiitake Mushrooms Cashew Nut Mozzarella Onions Tomato Sauce 

Results

This was my favorite pizza by far. It still has the vegan cheese but I was twice as impressed with this Tofurky sausage. It really gave the pizza a boost in flavor (and protein) and just like a regular pizza night I could not help but take multiple slices. As for the look and consistency of this fake sausage, I have no complaints, and that’s coming from an avid meat eater. I would highly recommend you try this recipe if you’re looking for a meat alternative.  

Pizza Three – Hummus Pizza

Cheeseless Pizza

Ingredients

>Tofurky Sausage Plain Hummus Diced Tomatoes Onions Shiitake Mushrooms 

Results

While we kept the vegan sausage on this pizza, we replaced the tomato sauce with hummus and made a cheeseless pizza. Using hummus seemed to be a popular vegan option so I thought it would be a good addition. While it started to stray from what a pizza taste like… it was still delicious. As one friend said, “it’s just like eating hummus with some yummy baked bread” and there is nothing bad about that.

Other Pizza Alternatives: 

> Making Naan In The Pizza Oven Gluten Free Pizza Dough Recipe 

 No matter what your eating habits are I encourage you to try these pizzas! The flavors are there without some of the negatives that come from eating cheese and meat on every pizza. If you make your own I would love to see on Instagram @_pizzacraft  #pizzacraft. Other vegan pizza recipes to try? Shout them out in the comments below!

Pizzeria Pronto® Stovetop Pizza Oven

New Way Of Making Pizza 

We went through the same thing most pizza makers experience, the home oven just doesn’t cut it. It takes so long to pre-heat and the temperature zones are all over the place, resulting in inconsistent pizzas. Two hours into cooking and you might have one decent pie. 

In an effort to save time and make better homemade pizza, we came out with the Pizzeria Pronto® line. Two ovens to change the way homemade pizza is made. One for indoor and one for outdoor use. Using two high-heat retaining, ThermaBond® pizza stones, and heat reflecting walls, the Pizzeria Pronto® ovens are able to cook pizza like a classic brick oven; eliminating hot spots, cutting cooking time in half, and giving consistent results for every pizza.

Home Pizza Oven

With the Pizzeria Pronto® Stovetop Pizza Oven, your conventional oven is no longer needed. You simply place the compact pizza oven on top of any gas range and turn on the burner. The oven preheats in only 15 minutes to temperatures exceeding a conventional oven, making for an optimal pizza-baking environment. Plus the oven will cook your pizzas in half the time with extreme consistency.

How It Works

indoor pizza oven

ThePizzeria Pronto® Stovetop Pizza Oven was made with a heat-efficient design, it traps and reflects heat to harness the power of your gas range, creating an optimal cooking environment up to 600°F.Dual cordierite stones in the base of the oven absorb the direct heat from the flame and redistribute it evenly, eliminating hot spots.A built-in thermometer lets you know when it’s time to cook, and the moisture vent on the top prevents your pizza from becoming soggy.

Homemade pizza cooking time

Do you have the right kind of stovetop?

•Your stovetop needs to have gas burners. The Stovetop Oven will not work with an electric range or induction burner.

The burners should have an output of about 9500 – 15000 BTUs (see chart in the manual for how outputs affect cooking times).

The Stovetop Oven should fit directly over one of your burners without covering or coming too close to materials that could be damaged by high heat (plastic knobs, countertops made with heat-sensitive materials, other appliances, etc.). For example, built-in ranges that feature knobs on the top next to the burners (as opposed to on the front side of a free-standing oven/range) might not be usable with the Stovetop Oven.

stovetop pizza oven

Learn more about our ovens:

Pizzeria Pronto® Outdoor Pizza OvenCommon Mistakes On The Stovetop Oven

Pizza Recipes To Try:

Two Pizza Recipes Perfect For Spring 

We hope these ovens change the way you make pizza in your home! If you already have one of our award-winning ovens, we would love to see what you make on Instagram @_pizzacraft  #pizzacraft.