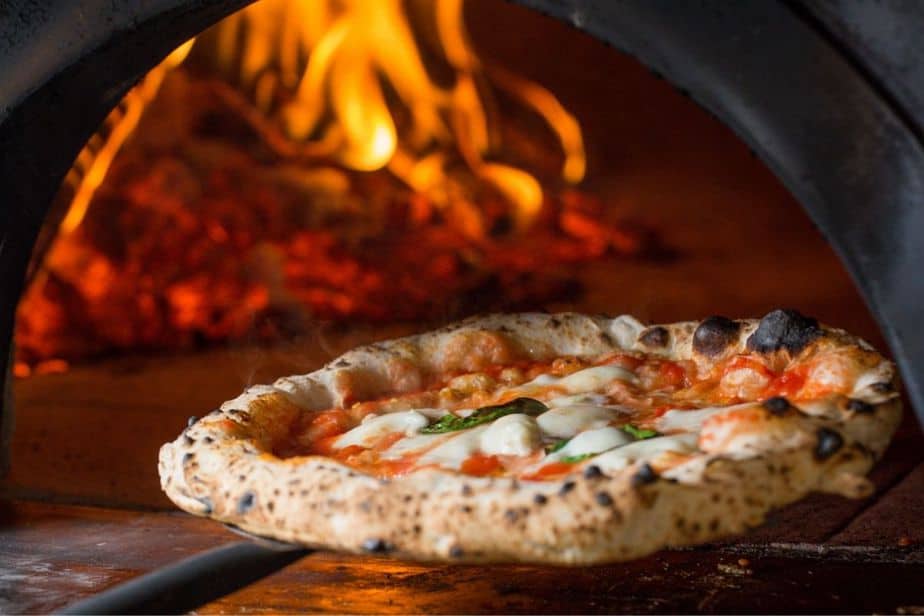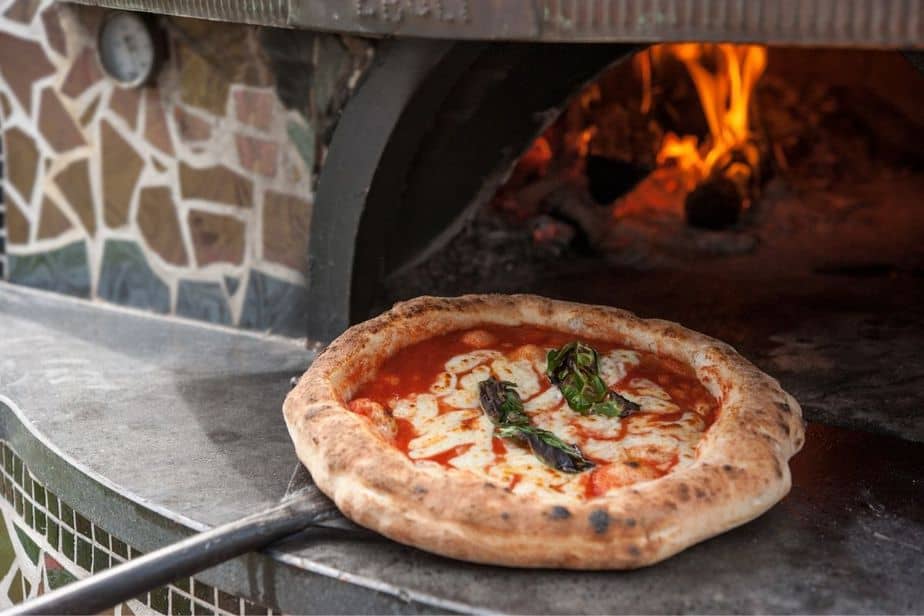

There are a lot of things needed to make a pizza; raw ingredients, a pizza stone, a hot oven, and let’s not forget the pizza dough scraper. These tools help to manipulate raw dough but they can also be used as a pizza dough cutter, making them pretty versatile.
Any good pizza chef will tell you that this in an important kitchen tool for making dough balls into pizza.
However, when it comes to choosing the right product, people can get quickly confused, owing to the large number of pizza dough scraper options. In this guide, we will be showing you the best deals to get a dough scraper that would fit right in in your favorite pizza restaurant for use at home. Let’s get started!
What Is A Pizza Dough Scraper?
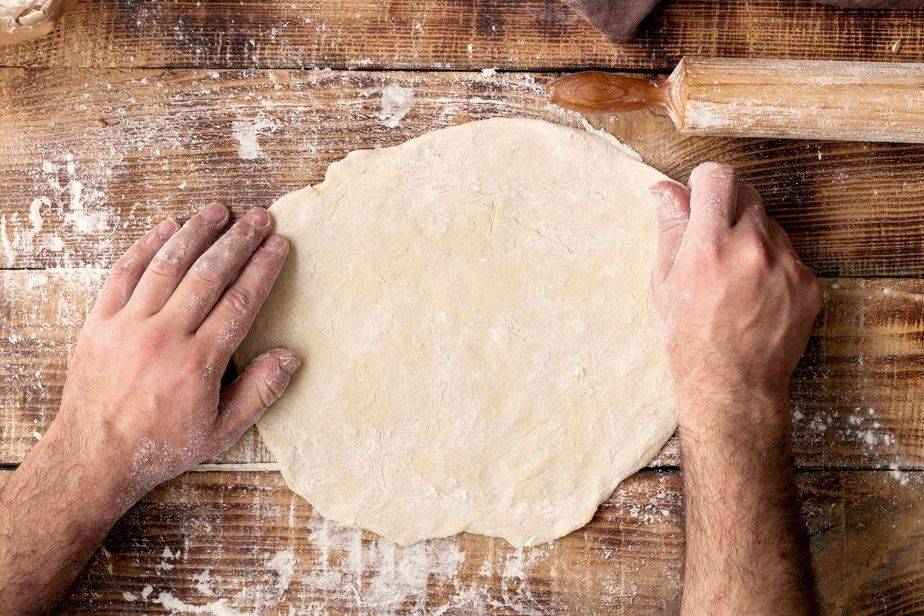
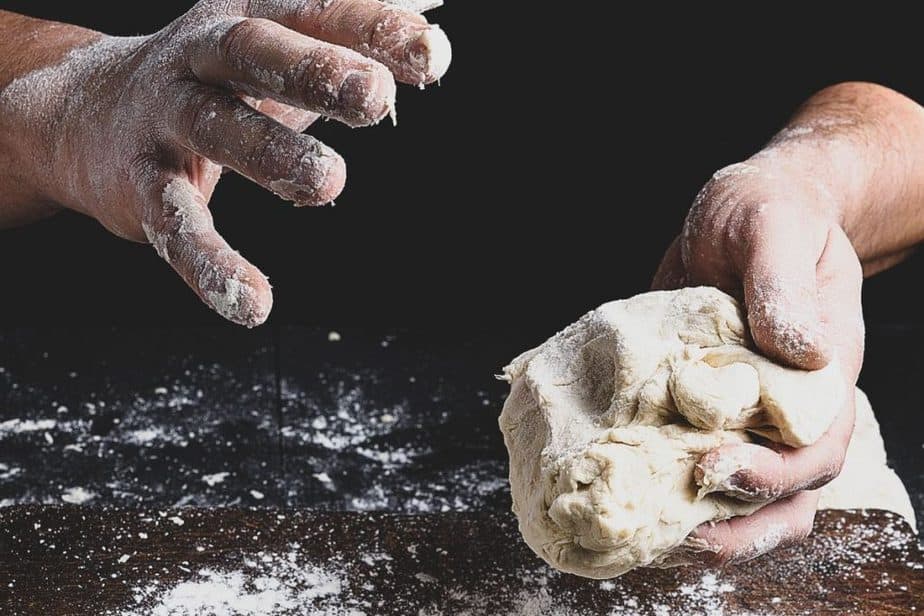
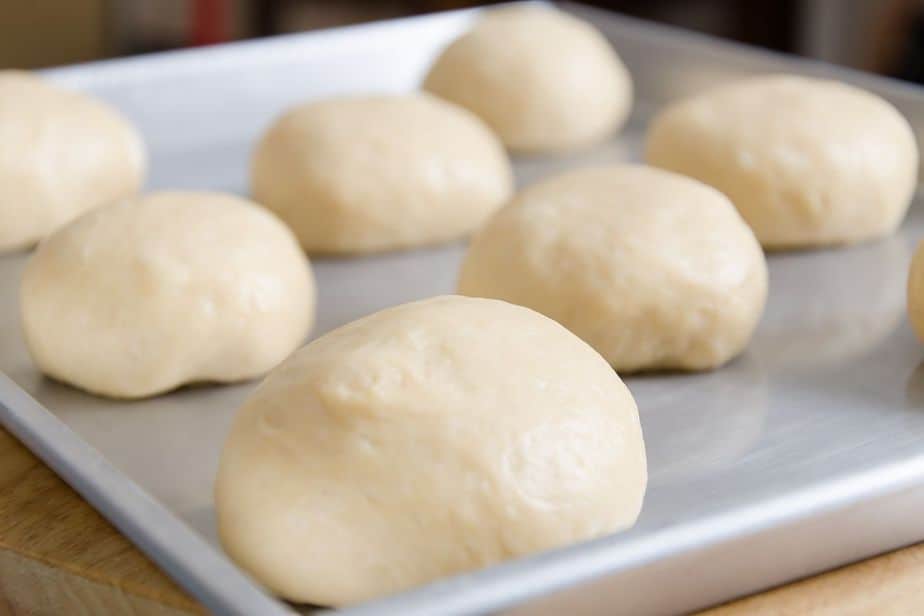
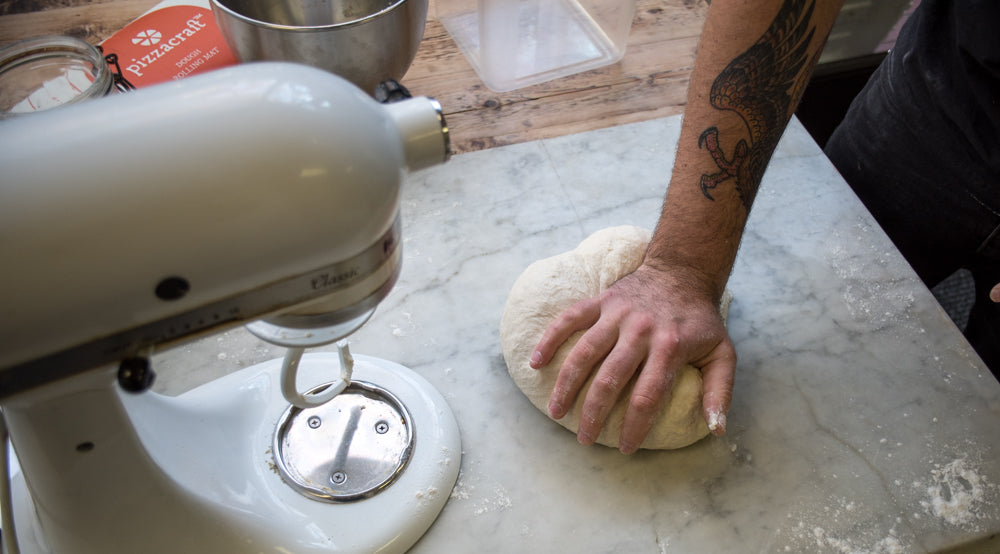
Dough scrapers, sometimes called a bench scraper, are used for working with raw dough balls. You would use a dough scraper to scrape the dough off the surface on which it has been rolled but these products also have many other uses.
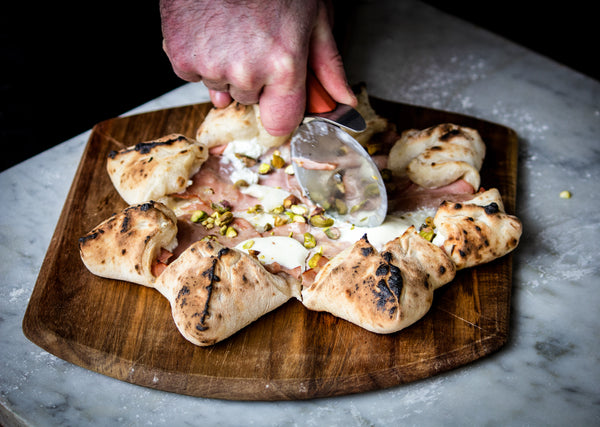
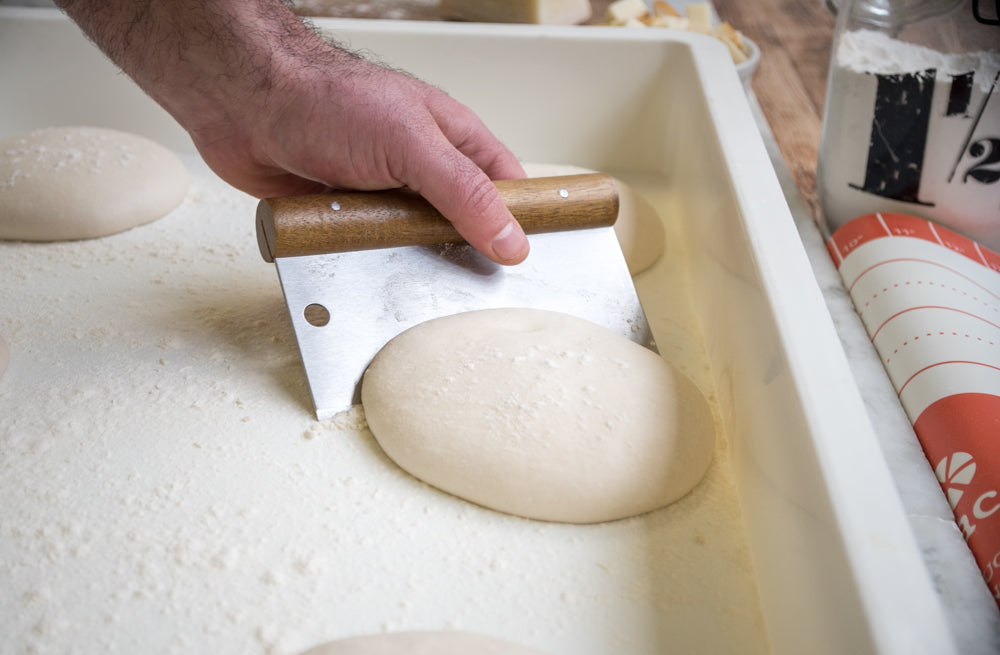
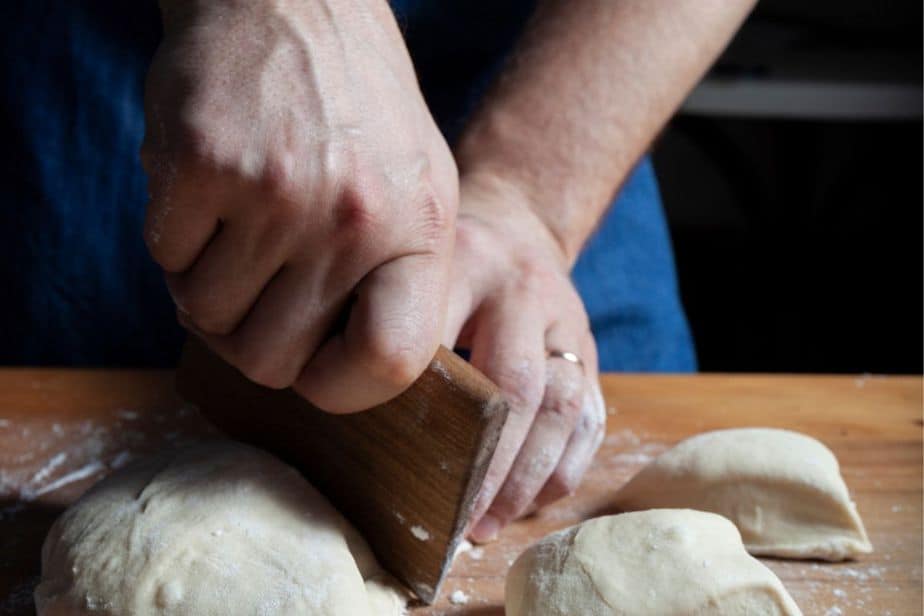
For instance, you could use a pizza dough scraper to cut the dough balls and to manipulate the raw dough. Dough scrapers are also excellent for scraping any left over dough off the work surface. While you may cover the surface with flour, some of the dough may still stick but with these kind of tools, a person can easily clean up and avoid wasting any of their dough.
Furthermore, pizza dough scrapers have a sharp blade and some like to use these to cut other foods such as vegetables.
How To Choose A Dough Scraper
Before you start your search for a dough scraper, it is important to remember that there are loads of products like this on the market. A quick Google search will yield a list of hundreds, if not thousands of products, so how can you know which are the best brands?
The best thing to do is to take a look at the features of each item and get a feel for what you need before you commit to a purchase.
Dough scrapers are typically made from one of two materials; plastic or stainless steel. Stainless steel is by far the most durable but plastic will be more protective to your surfaces and reduce the risk of scratches. Stainless steel is not as flexible as plastic products but it will have a better aesthetic appeal. While they are different from each other, they both have their pros and cons; which one you choose will depend on your preference.Before your purchase your dough scraper, it is important to look at the handles. A good handle will have excellent grip. Furthermore, you should look at what the handle is made from; typically it will be plastic or wood, it isn’t very often you will find one made from metal.You might consider buying a set of pizza dough scrapers. Some may come with other scrapers, perhaps those made from different materials and others may come in a set with another tool like a knife, pizza cutter etc.The good thing about the pizza dough scraper is that it is a relatively inexpensive tool. There isn’t a huge price difference between products and you can likely pick one up for close to the price of a bag of flour! You may get an even more affordable purchase in the sales. However, regardless of the prices, make sure that the equipment is up to scratch and will perform as expected.
The Best Dough Scraper
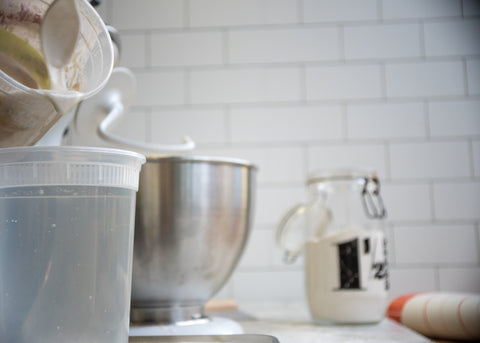
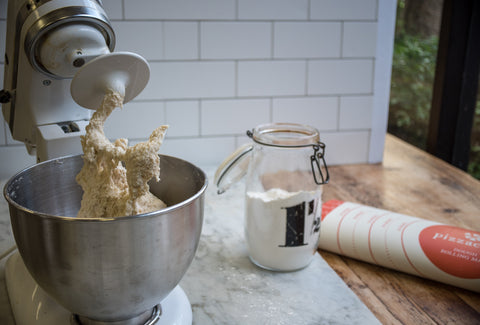
You mixed your flour, yeast, water and salt and you have created a beautiful pizza dough that you cannot wait to craft into a tasty meal. But even with flour on the tray or kitchen surface, you will still need a dough scraper to help clean the kitchen and manipulate the dough. Let’s take a look at some of the high-quality bench scraper items that impressed us!
Nana Home Bench Scraper For Baking

What initially caught our eye about this product is the versatility. From pouring the first grains of flour into your mixing bowl to the kitchen clean up, this pizza dough scraper has a lot to offer.
You get an additional tool, one made from plastic and one made from stainless steel. The stainless steel dough scraper features a handy table of measurements for your flour, water and other ingredients and is great for cutting the dough. The stainless steel blade is sharp and reliable giving you great results every time. Further more it has a plastic grip handle for ease of use.
The plastic pizza dough scraper is used for cleaning the dough off the kitchen surfaces, the base of bowls or other items and has a soft edge that offers great flexibility.
When you are finished in the kitchen, one tool slides inside the other for easy storage. This would make a great set to give as a gift to the pizza lover!
Rating: 4.5 stars
Pizza Dough Bench Cutter

There is no denying that this is a great tool; the reviews speak for themselves. But reviews aside, we can back this item as it is a robust, reliable and easy to use pizza dough scraper.
It comes with a wooden handle that offers good grip and looks fantastic. If you like your kitchen equipment with a pleasing aesthetic, this is an excellent scraper.
The blade is made from stainless steel which offers excellent sharpness right out of the box. Printed on the stainless steel are measurement equivalents making this a great tool for getting the right amount of flour, water, sugar and everything else you need for your base recipe.
The stainless steel design gives excellent durability plus stainless steel is dishwasher safe so keeping the tool clean is a breeze!
Rating 4.5 stars
Dough Scraper Set

If you are looking for something that will serve you in the kitchen in more ways than one then this is one of the ones you should be looking at.
Not only do you get a robust and reliable stainless steel dough scraper but you are getting a biscuit cutter and pastry scraper too. If you are someone who has a long list of baking favorites, then you need more than just a couple of tools to hand.
In the box, each item is made from stainless steel which will not rust and are great for heavy duty use. The manufacturer has fitted the pizza dough scraper with a tough, non-slip plastic handle that is not only practical but also compliments the metal blade.
The edge is sharp and efficient and will glide through dough easily and without any stickiness. What’s more, these high-quality tools come at a great price. However, you will need to consider shipping. In the case of shipping to the United Kingdom, you wold need to be prepared to pay a little more.
Rating 5 stars
Conclusion
Pizza is one of the most well-loved foods i the world, and it is fun to make at home. However, you must make sure that you have the right things for the job and a pizza dough scraper is a must.
The pizza scraper will help you cut and manipulate the pizza dough from the moment it comes out of the box. But its benefits don’t end here. It will remove excess dough from the baking sheet, bowls and your kitchen surfaces and can also be used to cut other foods.
They are typically made from metal or plastic and each has its own pros and cons. These were some of our favorite dough scrapers and we are sure that you will be just as impressed as we were at the quality and reliability of each product.